Friday, October 25, 2013

Creativa Madrid 2013

Last year about this time I went to the very first Creativa Madrid and you can read about it here. When I went last year it was over-crowed and mostly full of sewing booths. Since I really should not get a sewing machine until we know what country we are going to settle down in, sewing booths are off limits for me, for fear that the desire to sew will be all consuming. It is very hard not to fall down that rabbit hole as I past by the Singer store almost every day.

Anyway, this year I was not going to go. But a friend offered me a ticket, so I offered to help in her booth and went on the first day (Thursday). This fair runs until Sunday so there is still time to go, if you want to.

Basically there is a lot of craft stores with booths from around Spain and even some from outside the country this year (I heard both a French and a British accent among the vendors). This fair is vastly different from the craft fairs that I am used to in the US, and some of the things they were selling seemed odd to me (animal figures to decoupage, and day-glow t-shirt yarn for some examples). I did not take a lot of pictures, because it is frowned upon to take pictures of the various booths (at least it was last year). 

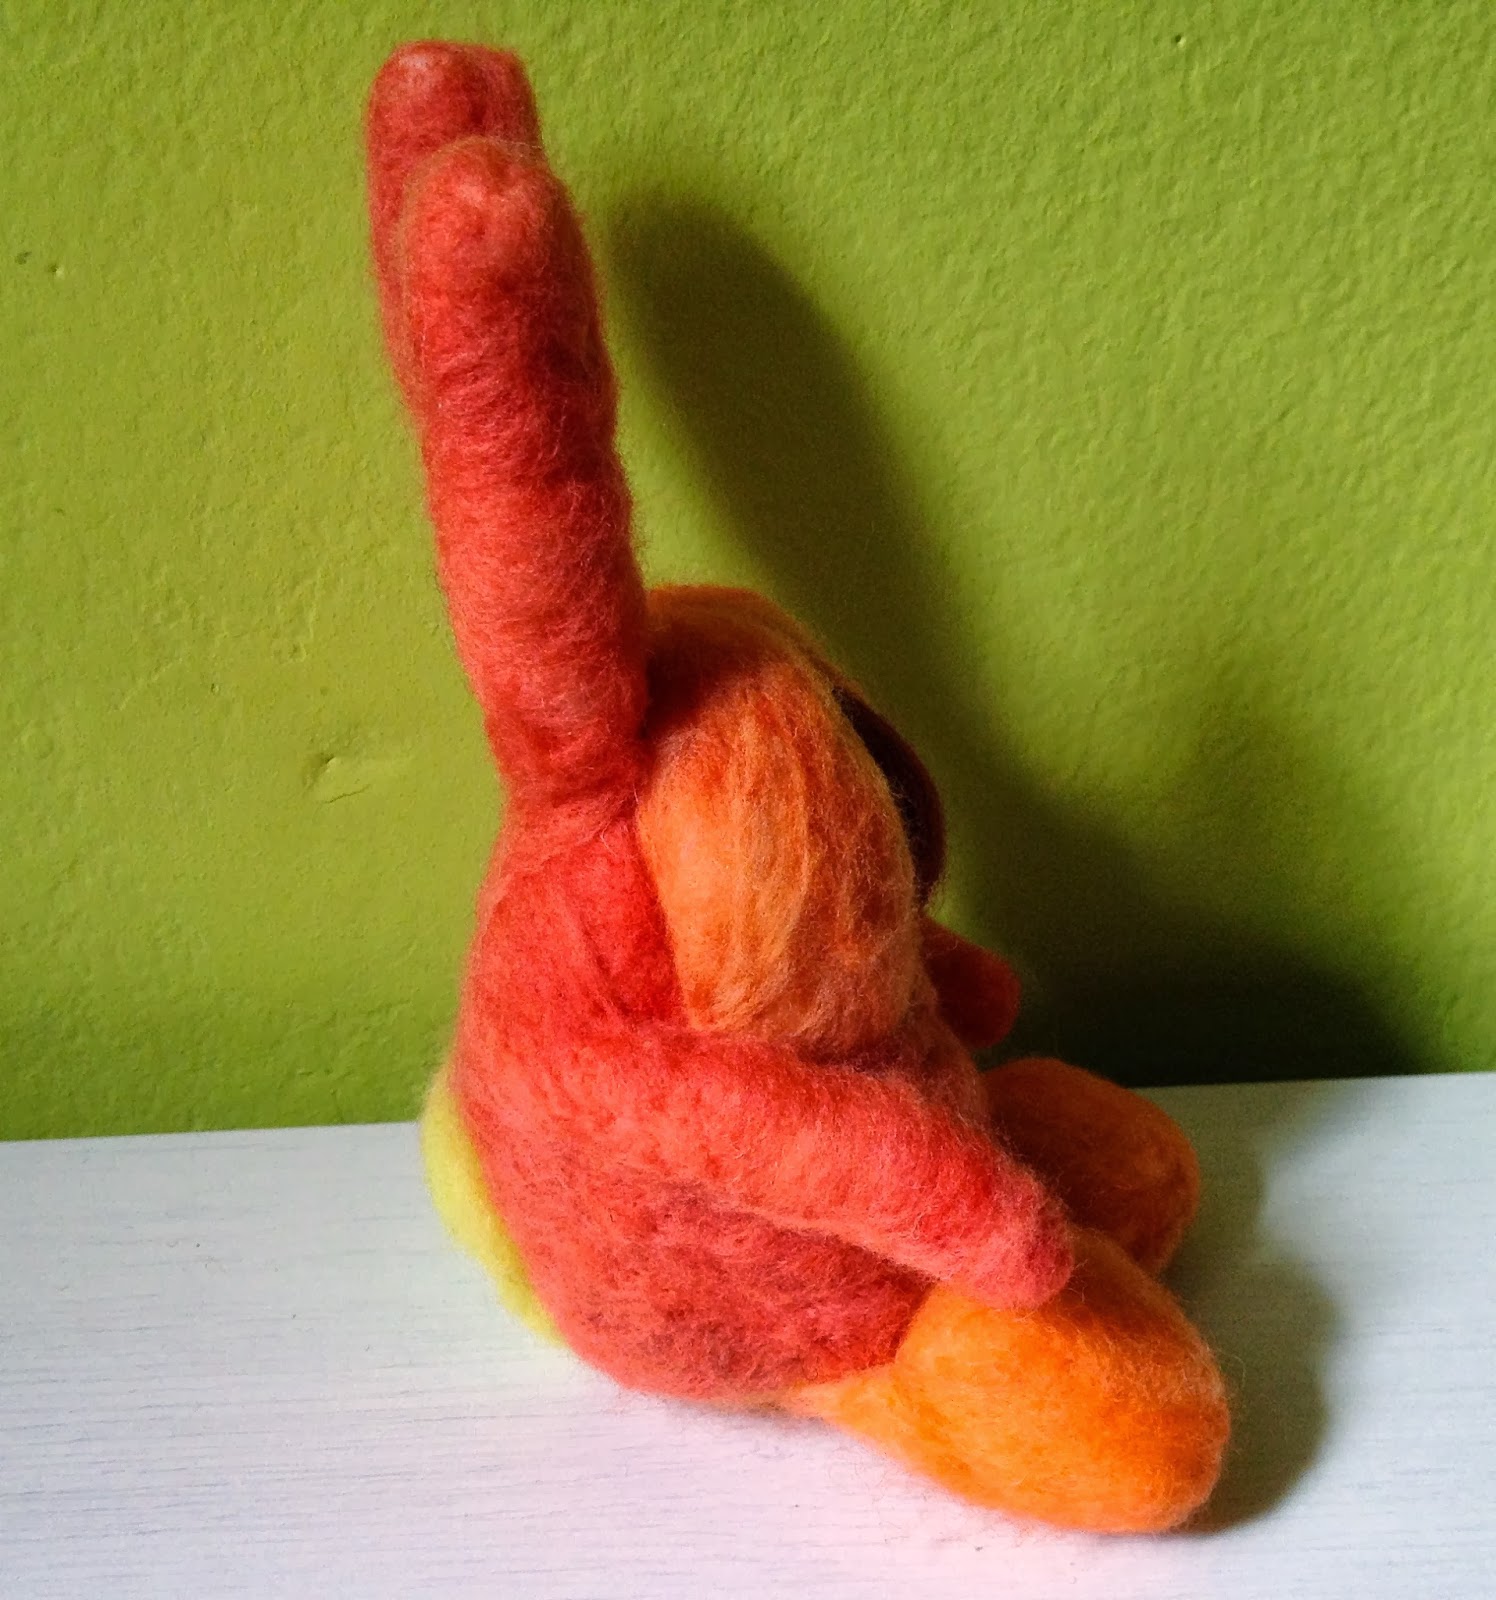
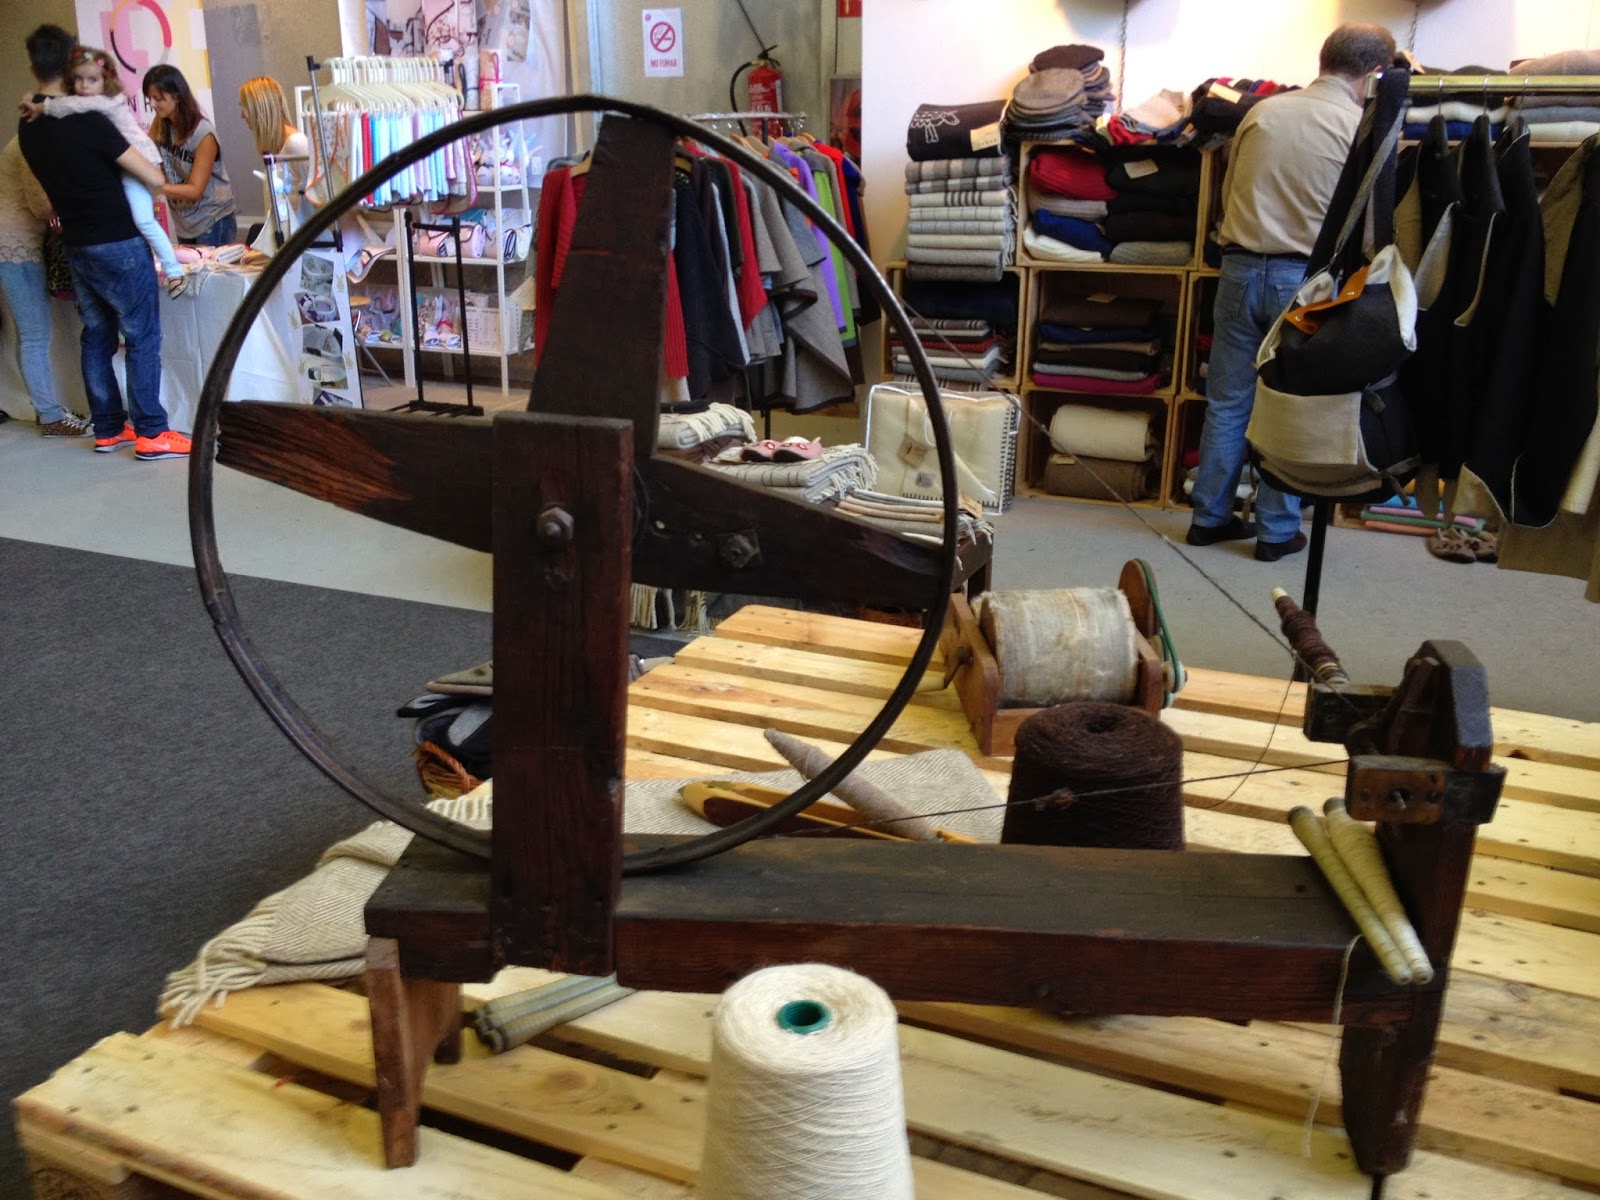
I also forgot to take a picture of the booth I briefly volunteered in, Indigo estudio Textil run by my friend and master weaver Lala and her husband Enrique. Lala brought wool to sell (in all it's forms), spindles, looms, books in Spanish about all sorts of crafts, and needle felting supplies. Below is what I bought from her booth. Those are felting needle holders, a single and a 4 prong. The single needle holder is a genius invention of simplicity and design. The yarn was made right here in Spain by a company, which is unfortunately, closed. Right now I am planning on using it to be the arms for a Ribbi Cardi. Last, but not least, the book! A book where I can study the terminology of needle felting is worth it's weight in gold to me! The projects are not too exciting, but I have a feeling that I will be reading this cover to cover.


Working at the booth while Lala was off teaching was an interesting experience. I have worked craft fairs and similar kinds of things before, and that is why I volunteered. What I did not remember, until the day before, was the potential language difficulties. I am not sure if that is a good thing or a bad thing. I am tired of my Spanish holding me back from experiencing the life I want. There is a disheartening moment as an immigrant when you realize that you will never know the language like a native. No matter how long you live somewhere there will always be a phrase you don't know or someone will mutter and because you did not hear what they said, based on your accent they will think that you do not understand. It is disheartening. But I have a working knowledge of the vocabulary I can get by, I need to get out there and have the confidence to speak more freely. All-in-all I am very proud of myself for being able to do it and I am glad that I did.

OK, on to yarn. I found my favorite yarn store in Spain. This is huge, no only do I hardly ever buy yarn in Spain because of the selection and the materials available. I know of several other ex-pats that buy out-of-country so I know I am not alone. I love supporting local shops. So, the name of this store? Vega knits. Based in Malaga they are an online shop (although I have heard rumors of them looking for a brick and mortar store). They are the only store in Spain (that I know of) that carries MadelineTosh (the two skeins on the left are MadelineTosh, aren't they gorgeous? Click to enlarge.) They also carry Blue Sky Alpaca, Spud and Chloë, and last but not least, Avril, a Japanese yarn company. Avril has some really neat yarns. I wish that I could have bought them all, but I did buy three different kinds. The yellow one looks and feels like paper yarn, but it is cotton! It is almost like a ribbon yarn, if the ribbon yarn was made out of paper. The small red skien is a beautiful lace weight tweed silk. And the small little cone is wool and stainless steel in an olive color. I have always wanted to try a wool and stainless steel combo. The woman who ran the store was very nice, and bonus for all of you, spoke English (wish she insisted on speaking to me) very well.


I also got roped into a presentation about Magic Crayons. I almost did not get them, until I saw that you could add oil to them and paint with them too (see the purple bit in the ballon on the lefthand piece.) I am not sure what oil that they used and the website is not super helpful, but you can see almost the same presentation that I got, only in Italian! It works on wood and glass, and they do not get your hands dirty! I love all thing new and inventive in art tools, so I had to buy them.


So tthose are my thoughts on this year's Creativa Madrid. I recommend going. The selection and the creativity of this year's show is far better than last year, Also there is more "pura lana" at Creativa than there was at Nomada Market. ;)


Friday, October 18, 2013

From batt to roving

I made this tutorial today!
There are so many tutorials that I want to make, but there is a steep learning curve to make making these, so please be kind. Once I run the subtitles past my Spanish editor (husband) I will put up a version with Spanish subtitles, maybe Spanish audio. So, why am I so obsessed about tutorials in Spanish? There just isn't many out there right now. 

I am sure that my tutorials will get better with time, but I think that you see everything fairly well. Go ahead and watch the video first, and the scroll down to the photo tutorial to see the steps.

Video:


Step-by-step tutorial for a quick reference guide.

Step one: Place an unfolded batt on a flat surface.


Step two: Starting at one end pull a section apart with both hands (this is why I made the video, can't show my hands and take the picture at the same time). You are going to be creating zig-zag strips.


Step three: Leave some space at the end, a good rule of thumb is to leave a section a little longer than the staple length (how long each wool hair is).


See here I want a little too far at the second "join" and now it is a weak point in my roving.


Step four: Then you will want to start drafting out these strips. I recommend you draft at least twice, once going each way, but you can draft as much as you would like to. 


Step five: wind into a lose ball or a nest for storage until you spin it. It is a good idea if you a spinning a project to turn all of your batts into roving at the same time, so that they are similar thicknesses.


So what do you think? Have you ever tried this?

Tuesday, October 15, 2013

Now with more needle felted creations!

 I really wish that I could tell you some powerful story of what inspires me to make a piece. But the simple truth is that with all of these pieces I was basically trying to embellish simple shapes differently.

Everything can be mostly made out of basic shapes. You art majors already have this drilled in your heads, but us self-taught artists need to remind ourselves of this and start training our eye to look for the shapes.

How you connect the shapes, how you put them together to form a seamless piece, that is the secret, and it is different in every art form. It takes lots and lots of practice. Below you have two unfinished egg shapes, one of which is smaller and they are joined together at the unfinished areas to create a body. I had recently learned to make the sausage shapes more rapidly so I had them at hand.


I joined them at the center back. Then I was inspired to do a mummy shape. Maybe because it is the season?


Can you break this guy into shapes too? He is a character right?


Even with the simplest of shapes, you change up the color, and then you have an endless variety. These little guys are my answer to my stained glass-felt obsession in 3D form. I hope to have a kit to make them available in my store within the next two days. They are perfect to make for beginners, because they can be any shape, have any amount of eyes and you get to play with blocks of color. (Or maybe that is just my favorite part?)


All the little creatures shown here today are available in my store, should you wish to take them home.


Sunday, October 13, 2013

over-dyeing sucess!

I bought this sock yarn at my very first ROC day hosted by the Black Sheep Handspinners guild in Ithaca NY. In the skien it reminded my of Starry night, but once wound up into a ball it started to lose some of it's appeal. When I knit it up, it looked even worse. The colors, while beautiful when separated by white, would touch when knitted up and looked a little like vomit. However, I held on to it anyway, move after move. and in a summer of 2012 when I was traveling a lot, I took this skein along to knit sock from. My reasoning was that I would knit it while distracted by travel, and knit it because I had nothing else to knit. One day I vowed that I would over-dye the finished socks. 
Why go to all this trouble for one skien, you ask? Well, readers from other countries, you have no idea how precious a resource like wool sock yarn is, until your supply is limited. Even though I can order more yarn online, the lack of selection for natural fibers locally adds a layer of value to any skein.

Left sock
 So I finally got around to dyeing it this week, along with a test bump of the some Spanish merino fiber I recently acquired. I put in purple, navy, and grey into the pot, put the socks in first, then the merino. Because I was kettle dyeing it without salt. I knew that the colors would be tonal, darker in some areas than others. I also knew that because this was an already (tightly) knit object, that the dye would attach to some areas easier then others.

Right sock

I am in love with the result, what do you think? There are areas where the original colors shine through, especially in the purl ridges of the ribbing at the top. I like it! It adds a depth to the dark color, while at the same time improving the original colors.

Wednesday, October 9, 2013

Nómada Maret Madrid "Pura lana" edition

A local artisan market, Nómada Market had a "pure wool" edition, so I had to go and see it. Now quick lesson for those of you that may not know. Wool is to Spanish as it is to British English. Meaning that wool = yarn, and also the material that comes off of a sheep. Since "lana" here in Spain is mostly acrylic, the thought of "pure wool" had me intrigued. The DIY revolution is just now hitting Spain, and I had my doubts about what I would find...


The Nómada Market is upstairs from the Chamartin train station. I didn't even know there was an upstairs! It was a huge space with 3 rooms the approximately size of the one pictured below.


This is where you encounter hipsters in Spain. The was a local craft-beer brewery there, a place selling what looked to be vegan food, and most of the market was filled with very nice and innovative hand crafted items, but where was the wool?


The smallest of the 3 rooms was dedicated mostly to wool or wool like things. As expected I was disappointed with the turn out. I have been missing the fiber festivals in the US like crazy (it has been over three year since I went to one) and hope springs eternal that I could find something a little like that here. It seemed like only 10% of the people we selling wool items. Some of the items were "lana" but definitely the acrylic kind.

However the whole show was worth it, because I got to meet the wonderful couple behind Mundo Lanar. A fellow wool seller here in Madrid. We did not get to talk as much as I would have liked, but I was impressed with everything I saw in their booth and their philosophies.

Take this photo below as an example. (Unfortunately this is the only photo I took of their booth, but you can go to their blog for more photos of the show.) They are working with a wood turner in Galicia to make beautiful, working reproductions of spindles. All of their spindles are made out of mindfully harvested, local wood. Which means all of the wood was grown in Spain, and no trees died to provide it. In the photo you have from top left to bottom right: A Navajo spindle (which I took home with me) a simple spindle included in their kit, top-whorl spindles made out various types of wood, a russian style supported spindle, and in the center? A reproduction of a Basque spindle! I had never seen one of these in person before and I was so excited to hear that they are going to make some to sell! If you want to know how it works, here is an excellent video and here is another video.


There will be another post with my new Navajo spindle when I get a chance to "know it better". Meaning there is a higher learning curve than I expected.

Right next to Mundo Lanar was this Portuguese company, Ecolā that had a charming display. They sold wool clothes, but also had props showing the process of making wool cloth. Some of their equipment looked like antiques! First we have an old drum carder.


A boat shuttle on top of a woven blanket with weaving bobbins beside it. I do not know if you can see it, but in the boat shuttle that yarn is wound in what can only be described as a sausage shape. One of the only local Spanish-grown-spun-naturally-dyed wools it wound in this way and I have always wondered why. I think that the mystery is solved.


A spindle wheel, like a huge charka, or maybe just a bobbin winder?


Some of their projects, don't you think that you would be a set for winter with those slippers and that cuddly blanket?


And also some of the spun wool on cones, waiting be woven. What I could not get was a good picture of is in that box. It was a white, un-spun wool where both plies were wrapped together. Maybe the only spinning happens in the plying? Their products were mostly soft and had a felted look. Maybe it was not spun to make the felting process easier and the result softer? 


This last image is stolen from directly off of the Nómada Market FB page, however it features yours truly and the DH. I have a feeling that they included my picture to give a more 'international feel" to the event. However, I guess that I can understand the sentiment. What did we win? Yarn! However, even though it was made in Spain (Katia), it was 100% acrylic. Maybe next year?


Saturday, October 5, 2013

What type of yarn can you spin on a spindle?

Bilingual post coming soon, on my other blog.

I have had spindles on the brain recently for two very good reasons. 
First, we now have a spinning group here in Madrid! "Hilando Madrid" is a small group of really great people and this Sunday we will be having our second meeting! If you are in Madrid and interested in going, stop by our Ravely group (if you are a Spanish speaker) or email me (if you need details in English). Last time we all spun on spindles. We spin on spindles because they are very portable and can be used virtually anywhere and in very tight places.


Secondly, I want to try teaching fiber arts, instead of English, this semester and I am determined to make that happen. So, for the past week or so I have been madly putting together spindle-spun samples. The best part about these preparations are the mini-skeins of art yarn I am making. Odds are my student will not be able to haul a wheel into class and this had me thinking about the various types of yarn that you can make with a spindle.

Hint: there are more varieties of art yarn that you can make on a spindle than you might think. Some of the following samples were made with a wheel, but I know that they can be made with a spindle too.

Here is a photo of all of my mini skeins together.


OK, let's get a close up view and more detailed descriptions of them:

Here is a beaded yarn Consisting of 2 plies of Polworth wool and 1 ply of grey cotton thread strung with beads. Yes I plied this on a spindle, it is all about the angle you ply and the trick of holding about 5 beads or so in your hand. I put in a bead about every 20 cm. Not that I was obsessive about the distance of the beads, it just ended up being a good rhythm. The best thing about plying this kind of yarn on a spindle, is you can make the process as slow as you want giving you more time to construct your perfect yarn.


 This next one, was a two ply yarn I had in my hand-spun stash for a while. One ply is blue and the other is red orange. since each ply is a separate color, I decided it would be a good example of a cable plied yarn. This was originally spun on my wheel, but cable plied on my spindle. A basic 4 ply cable (it can be more plies) is a highly twisted 2 ply yarns that are plied together in the direction of the original singles. The result is a hard wearing, very strong yarn.


Navajo plying, or chain plying, on a spindle can be done as you go or after you have spun all of your singles, like I did here.


Yes core spun yarn can be spun on a spindle! Although if you pick a mostly black batt to spin from, it can be very hard to photograph. I was inspired to try it from this video, but technique is not showed very clearly. Basically, you draft lose fluffy fiber at a 45 degree angle to a "core yarn". This method allows the fiber to wrap around the core completely hiding the core yarn (a strong cotton works well as the core yarn). It is a great method for producing bulky art yarn out of those art batts you have no idea how to use.


This next is a think and thin singles* plied with cotton, threaded with beads and sequins. If you hold the singles at a 45 degree angle to the cotton while plying, you can create a spiral effect as well.


Then there is the thick and thin singles yarn plied with just a cotton thread. I made this from a batt which I made using different pairings of complimentary colors.


And of course you can create more utilitarian yarns with a spindle.

Such as: a thick and thin, bulky 2 ply.
Recognize this color? It is left over from my brain project.


A standard hand dyed worsted spun 3 ply (in two different colorways)


A worsted spun 2 ply (top) and, my personal favorite to make on a spindle, the woolen spun 2 ply (bottom).


There is also the *singles yarn, this one is in hand dyed 50/50 merino/silk


What kind of art yarn/ yarn can you make on a spindle? Have you tried any of these techniques?

* Yes the correct term for a single ply is always plural. Don't you just love English?